|


| |
Changing ball bearings in model engines
Below are pictures with descriptions to help you to do it right when changing worn
main bearings in a model engine. The engine used for
demonstration is one of my OS 140RX's, which received new bearings after
about 250 flights, before the engine was mounted into a new model. Ball bearings
are precision mechanical part, and is easily damaged by improper
handling. Always keep bearings free of dust. Never use force to
press them in position. Follow steps below and the new bearings will last
longer.
 |
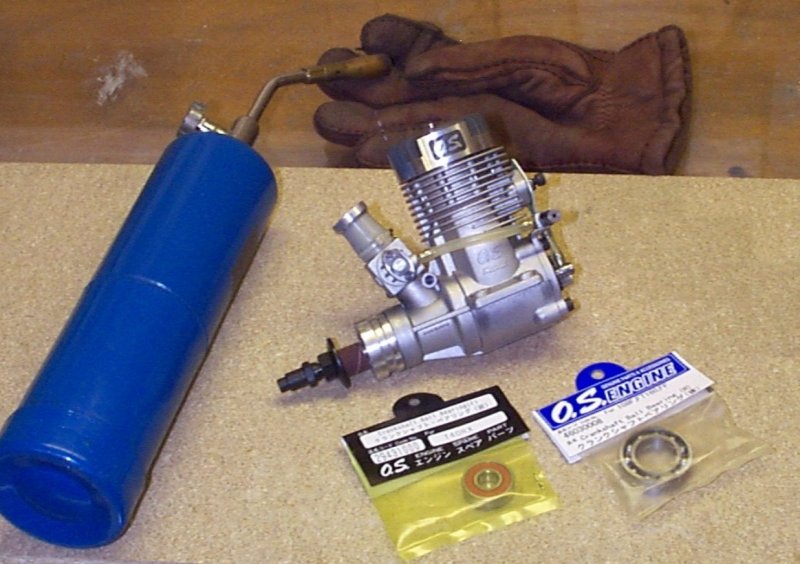
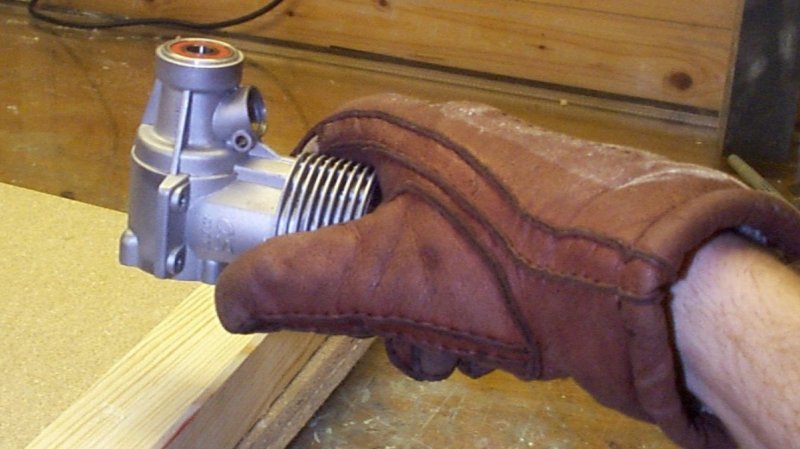
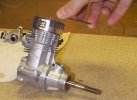
Engine
and new bearings together with special tools needed, a blowtorch and
gloves to handle hot parts. In addition tools like allen wrenches etc to
dismantle engine are needed. On some engines a puller is needed to remove
the drive hub. The OS has the hub secured to the crankshaft with a woodruff
key and is easy to remove. |
 |
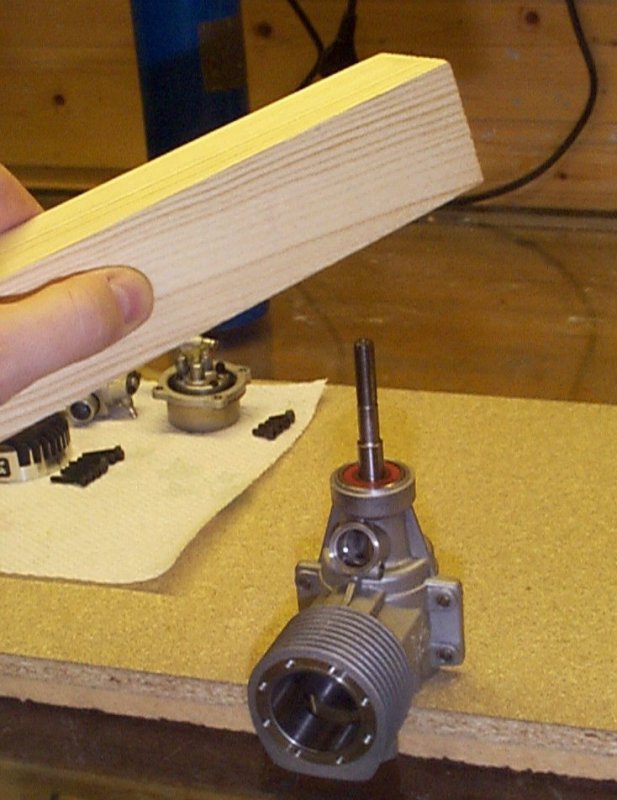
If
it is difficult to remove crankshaft from engine, tap with a piece of wood, metal
can damage the shaft. Take care to let engine rest squarely on a clean wooden
surface, to avoid damaging the gasket surface for back cover. |
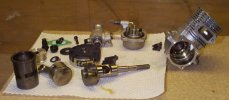 |
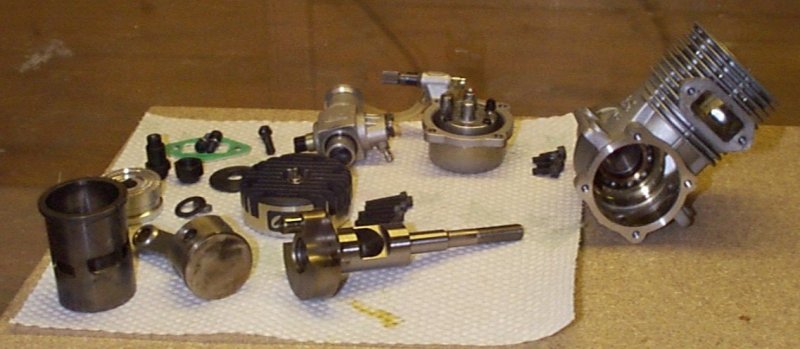
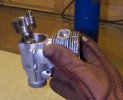
All
in parts, but for the bearings. While the opportunity is here, clean all parts
with alcohol and stiff toothbrush. If there are any soot/carbon, remove it
carefully. Check parts for excessive wear, it may be good timing to change
piston ring and conrod since the engine is out of the model and dismantled
already. |
 |
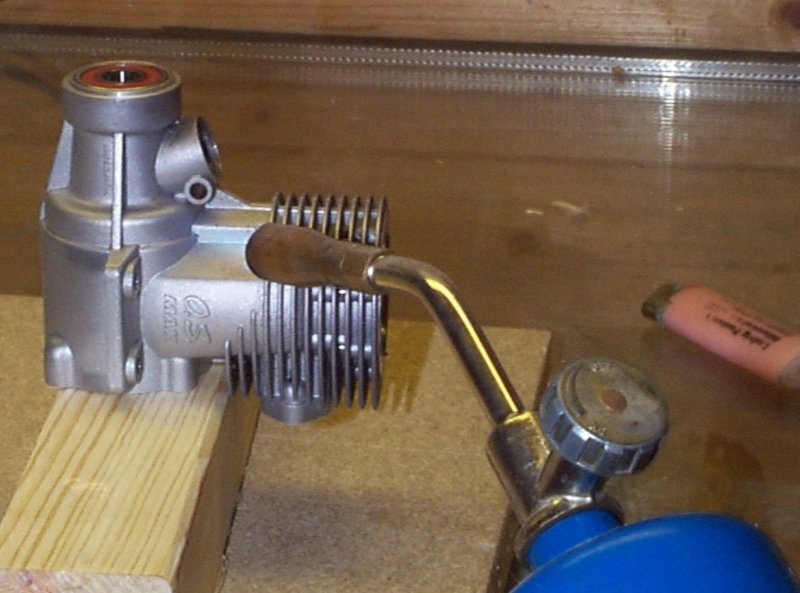
The
bearings sits very tightly in the case, to get them out, the case must be heated
to let it expand. Take care to heat evenly all around the bearing, but do not
overheat. It's better to heat some more if the bearings are still stuck after
first round.
|
 |
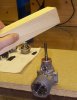
To
get the bearings out, knock the case onto a clean wooden surface. The rear
bearing should pop right out, if not heat some more and try again. Do use a
glove, the case is HOT! Front bearing can be pushed out from rear, with a
dowel. |
 |
When
the case is cleaned and ready for new bearings, start with the front bearing.
Heat the case again, and use the crankshaft to press the bearing in place.
By using the crankshaft, it is easy to push the bearing straight into correct
position. |
 |
With
the rear bearing it is best to mount it onto the crankshaft first. This is also
a tight fit, and made easy by putting the shaft in the freezer for a while
first. Then heat the case and slip the shaft with bearing into
place. Start spinning the shaft while it all cools, to let bearing set in
optimal position. |
 |
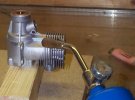
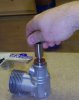
Take
care to not over-tighten bolts when assembling the engine. Controlled tightening
is easy done with two fingers as shown. Tighten the bolts in a
cross-pattern to avoid twisting of head and/or back cover. |
|